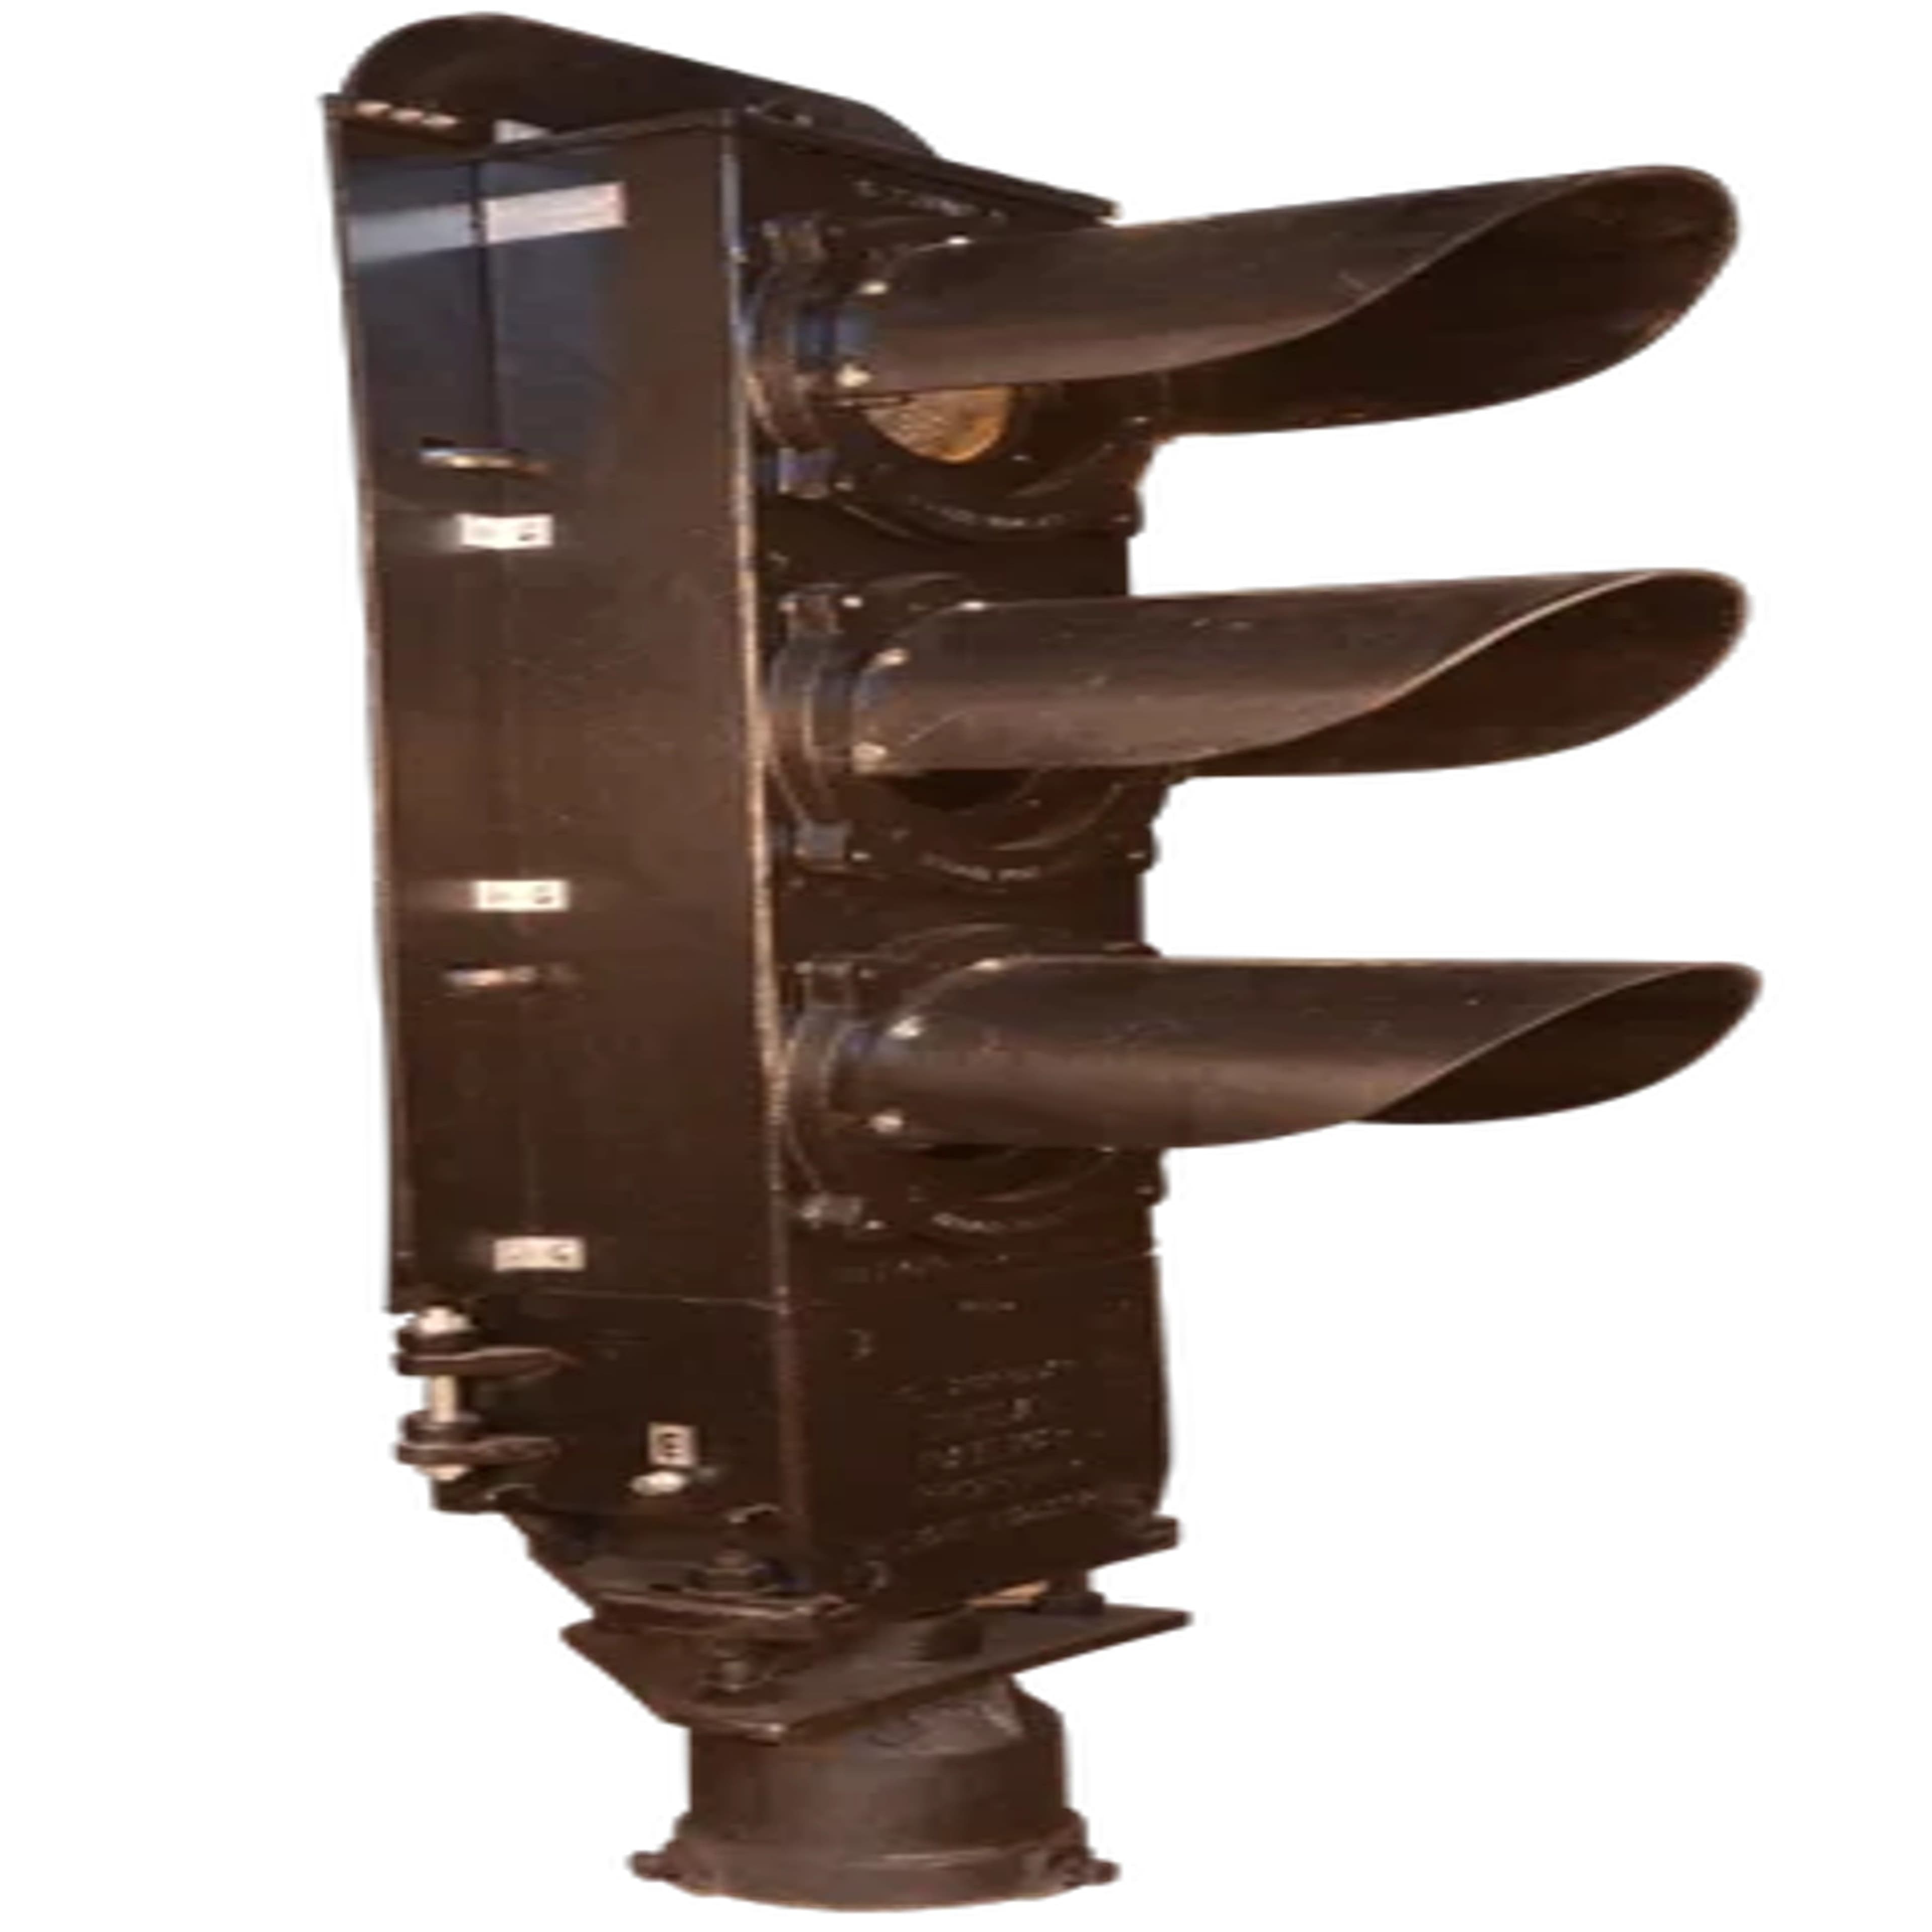
Related project requirement
Need specifications or pricing for Route Indicators Metallic/FRP?
Share the quantity, drawing or specification and delivery location for a project-specific review.
A route-indicator request for quotation needs more than a product name and photograph. Stencil, multi-lamp and junction types communicate different information and can require different housings, optical arrangements, mounting and control interfaces.
Use the approved signalling documents to define the need, then make suppliers identify deviations explicitly. This checklist supports enquiry preparation; it does not replace signal sighting or signalling design.
Define the operating display
List every permitted route indication and identify whether it is a letter, number or directional pattern. Tie each display to the approved signal plan, control table or equipment schedule.
Record the sighting inputs
State the associated signal, required approach, mounting position, offset, background and any obstruction constraints. The final sighting decision must remain with the authorised railway process.
Describe the physical assembly
Specify housing material, number of compartments or light points, hoods, background screen, doors, locks, seals, mounting brackets, fasteners and cable-entry arrangement.
Set the electrical boundary
Identify the supply, lamp or LED unit scope, wiring, terminal arrangement, proving compatibility, cable interfaces and any items supplied by others. Avoid assuming compatibility from appearance alone.
Plan inspection and documentation
List applicable drawings and revisions, inspection authority, required checks, certificates, identification plates, packing, spares, quantities, delivery location and deviation schedule.
Project checklist
- Indicator type and complete display list
- Associated signal and authorised sighting inputs
- Housing, optical units and mounting
- Wiring, terminals and proving interface
- Applicable drawings and revisions
- Inspection, documentation and delivery
Review the route indicators product page for the related Principal Vinimay catalogue item and enquiry path.
Continue with the route-indicator types and applications guide for supporting context.
Use the approved project documents
This article explains terminology, interfaces and procurement questions. The latest approved railway rules, drawings, specifications and project instructions remain the controlling requirements for design, installation, testing and operation.
Frequently asked questions
What should a route-indicator RFQ include?
Include the approved type and displays, sighting and mounting inputs, housing, optical and electrical scope, drawings, quantity, inspection and delivery requirements.
Can the supplier decide the route-indicator type?
The authorised signalling and sighting design should define the required type; a supplier can clarify manufacturability and declared deviations.
Why list every display separately?
The complete display list controls the optical arrangement, wiring, identification, inspection and technical comparison between offers.
Related railway guides
From research to procurement
Discuss your Route Indicators Metallic/FRP requirement
Send the applicable drawing or specification, quantity, project location and expected schedule. Our team will review the manufacturing and supply scope.
References and further reading
- Indian Railways Signal Engineering Manual — Chapter 8: Drawings and Specifications — Indian Railways
- Schedule of Rates for Signal and Telecom Works — TLJB and Route Indicators — North Western Railway
- Selection Circuits and Control Tables — Route Indicators — IRISET / Northeast Frontier Railway
This educational material is a general overview. Project specifications, approved drawings and the latest applicable railway standards govern actual procurement, installation and maintenance.